|
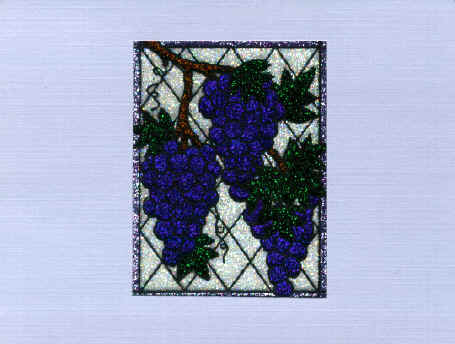
Stained glass card made
with Art Institute Glitter
Graciously donated by Laura Atkinson
See below for directions on
how to make this card

Directions
Take a transparency and stamp the image in permanent ink. I've
used the Memories and Ranger and like the Ranger better. These take a while to dry.
Set it aside overnight. You can also emboss the image onto a transparency if
you have the heat resistant transparency (designed for laser printers and copiers).
After it's dry, turn it over and using the Art Institute Designer Dries Clear Adhesive
with the fine metal tip on it, apply the glue where you are going to apply the first color
of glitter. Apply the glitter and let it dry for a few minutes before you go onto
the next color. Do all of the opaque colors first and let them dry all the way
(you'll be able to tell by turning it over and looking that it it all the way dry, the
glue will be clear and all you see is the sparkle of the glitter).
After it is totally dry, use one of the Art Institute transparent
glitters (I usually use #85 Crystal) for the open "glass" area. --Laura Atkinson
Back to my little rubber
stamping page
| 